Blogs / How to Configure WordPress Auto Publish Integration with Zeeg AI
How to Configure WordPress Auto Publish Integration with Zeeg AI
Admin / May 18, 2024
How to Configure WordPress on Zeeg AI
- Step 0: As Wordpress integration is a user based feature, share these instructions with them:
- Step 1: Log in to your WordPress admin dashboard using your credentials.
- Step 2: Disable 2FA in case you have turned it on in your settings.
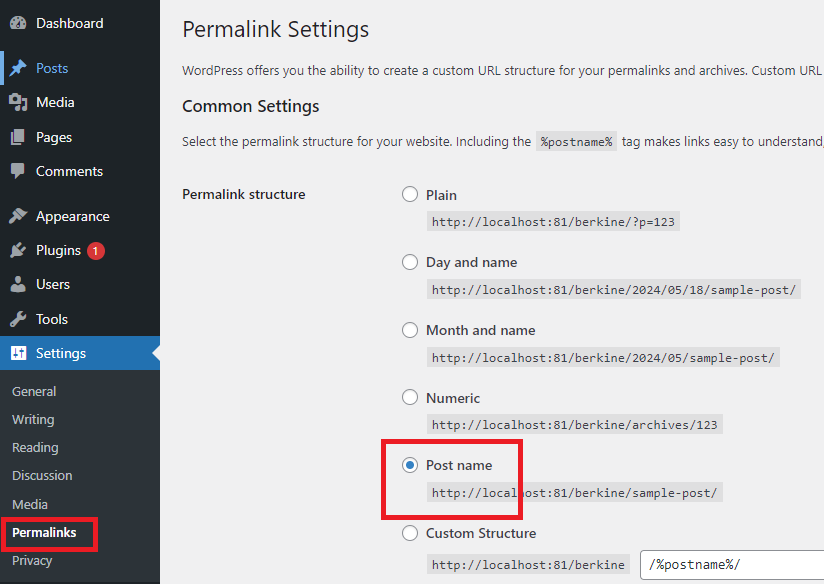
- Step 3: Go to Settings - Permalinks page and select postname.
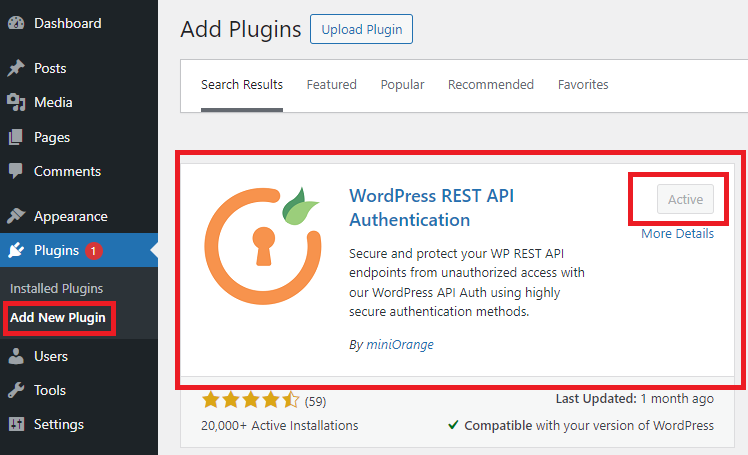
- Step 4: Go to Plugins - Add New Plugin and install WordPress REST API Authentication, make sure that after installation it is activated.
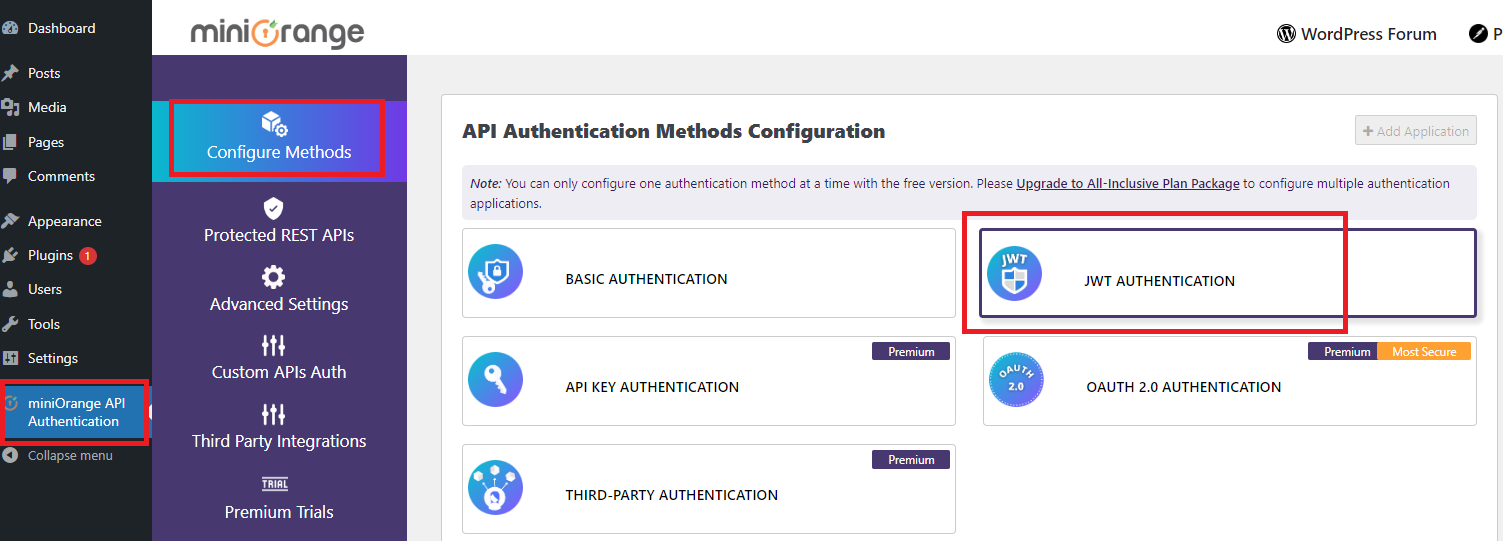
- Step 5: Once the installation is complete click on miniOrange API Authentication and click on JWT Authentication as shown in the image.
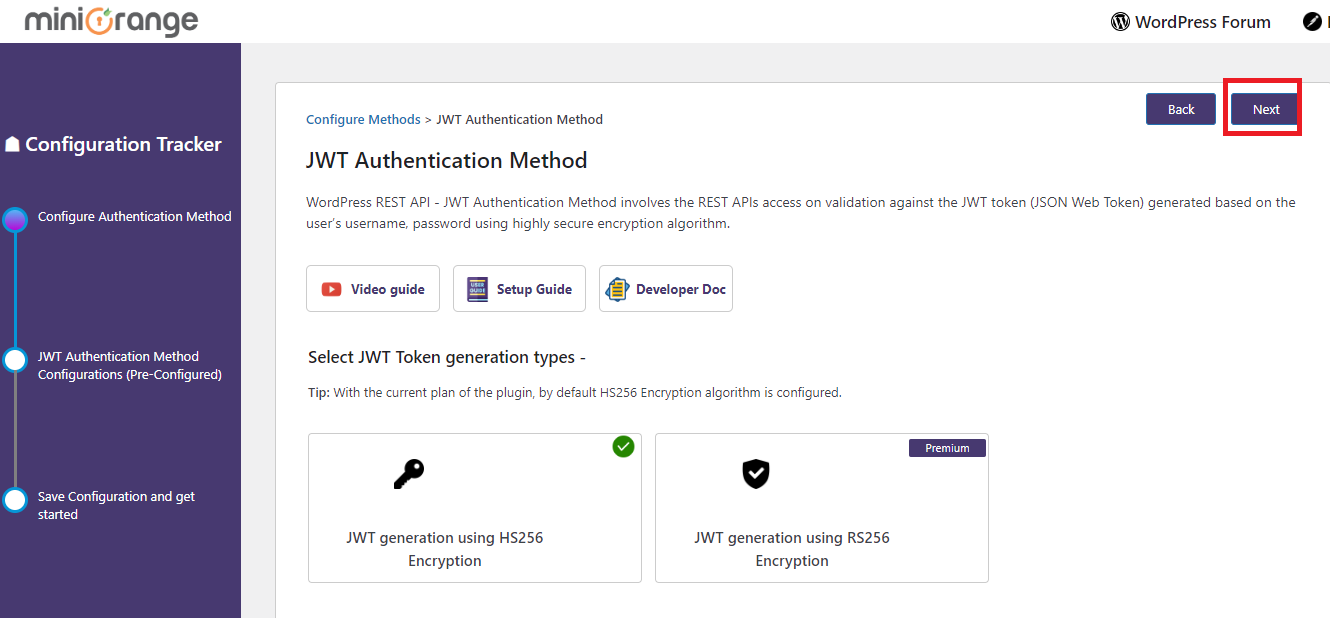
- Step 6: Click on Next button as shown in the image.
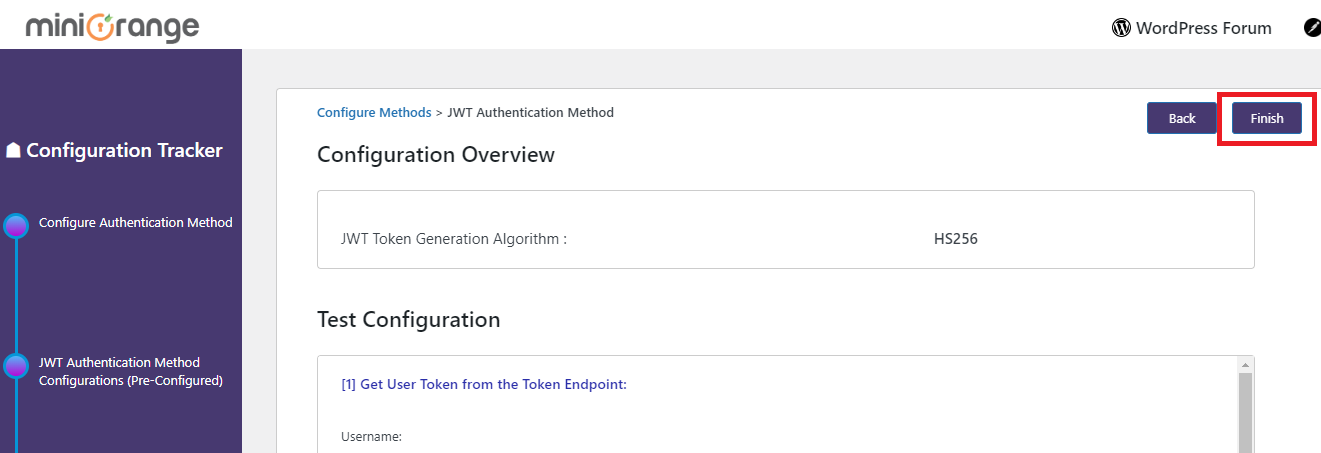
- Step 7: Click on Finish button as shown in the image.
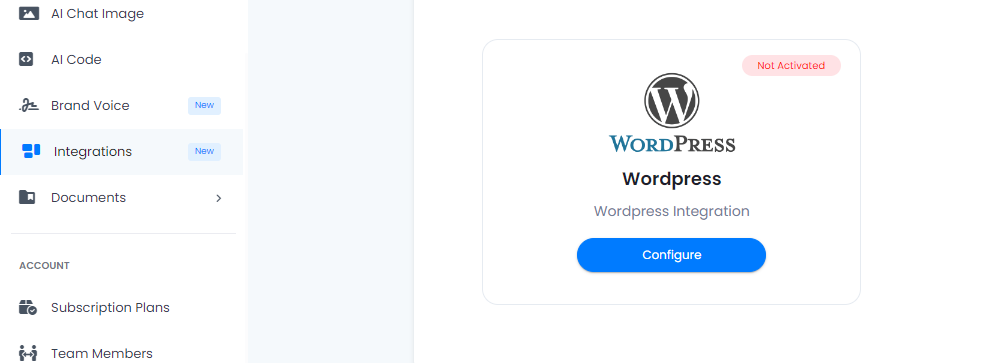
- Step 8: Check the side menu on Zeeg AI and click on “Integrations” to configure your settings. Then add your credentials from WordPress configuration.
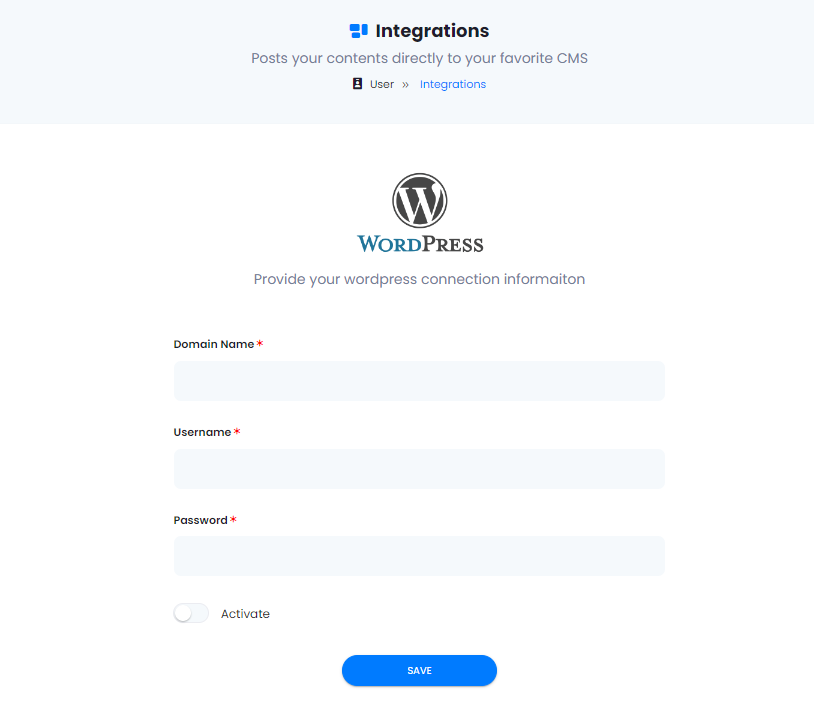
- Step 9: Enter your Domain name, Username and Password, and don't forget to Activate the feature and click on Save button.
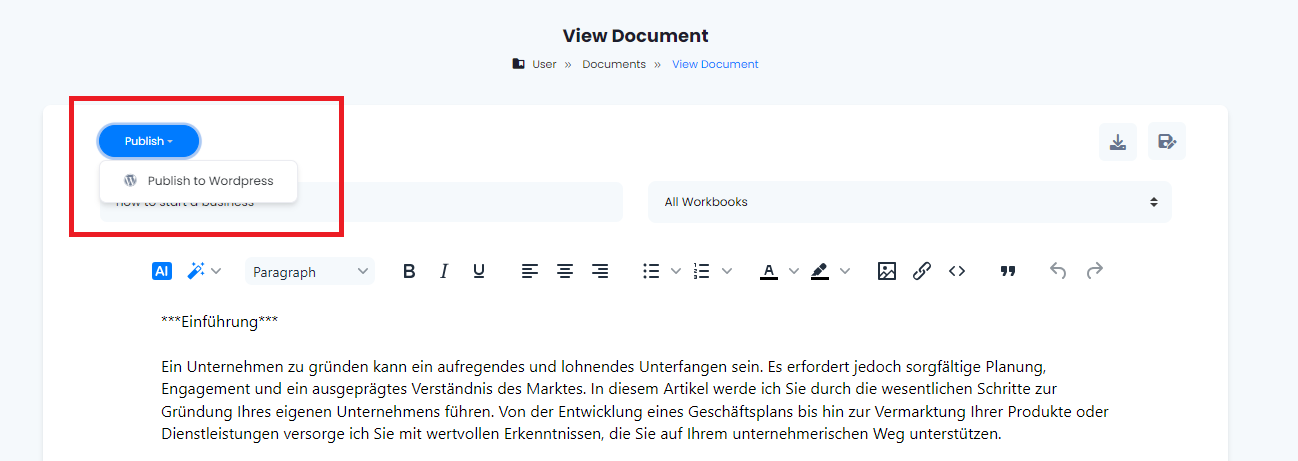
- Step 10: Go to your saved documents and you will see a Publish button, click on it and you are ready to post directly on your WordPress account. Remember to format your posts properly on Zeeg AI before publishing.
- Step 11: Done.